How to forward a Ticket/Message inTxHelpdesk?
TxHelpdesk lets the user forward an entire ticket content or a particular message to an email address without the knowledge of the submitter of the ticket.
Steps- Forward a message
To forward a message, open the ticket that you wish to forward.
Click on the ellipsis icon on the top right corner of the message as shown in the image below and then select the Forward Message option.

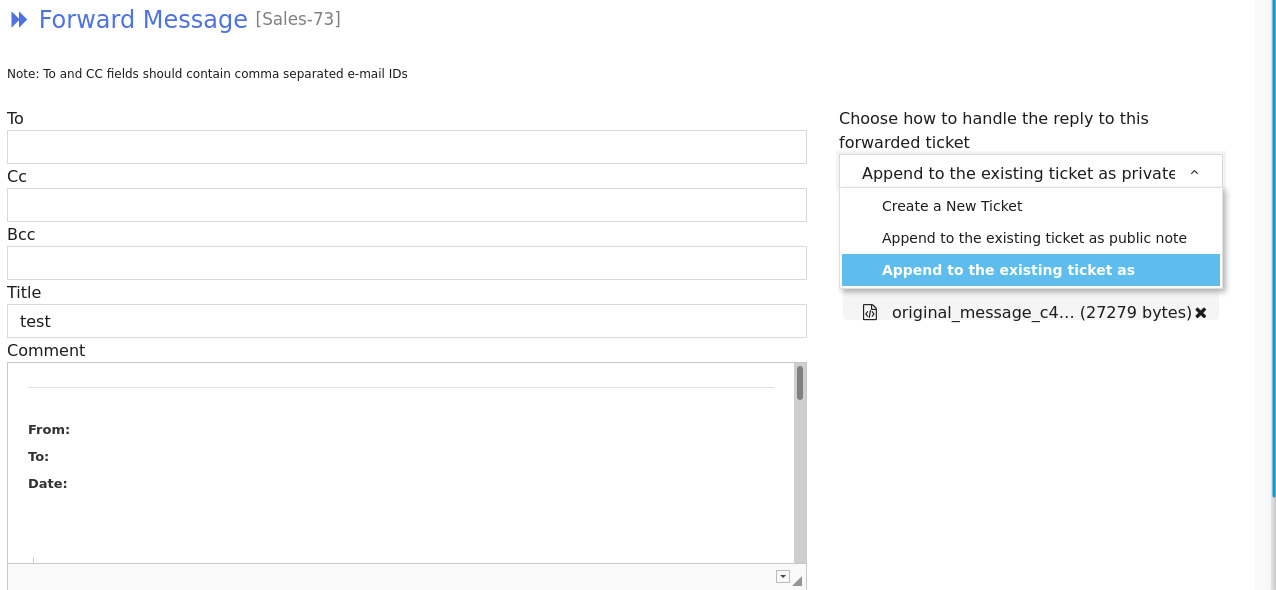
Forward Message form will be displayed as shown in the image below. The page specifies that the user can forward the ticket to the below domain email address only, which means the user cannot send the mail to the domain that is not specified here. TxHelpdesk helps the user to choose how to handle the reply to this forwarded message by providing 3 options:
1. Create a ticket: Convert into a new ticket
2. Append to the existing ticket as a public note: Convert the reply as a public note on the same ticket
3. Append to the existing ticket as a private note: Convert the reply as an internal note on the same ticket.
User can choose the desired options, Can type in the message that you would like to accompany the ticket or edit the original message. Add / Remove attachments before forwarding the message. and, finally, click Send
Steps:-Forward a ticket.
To forward a ticket, open the ticket that you wish to forward.
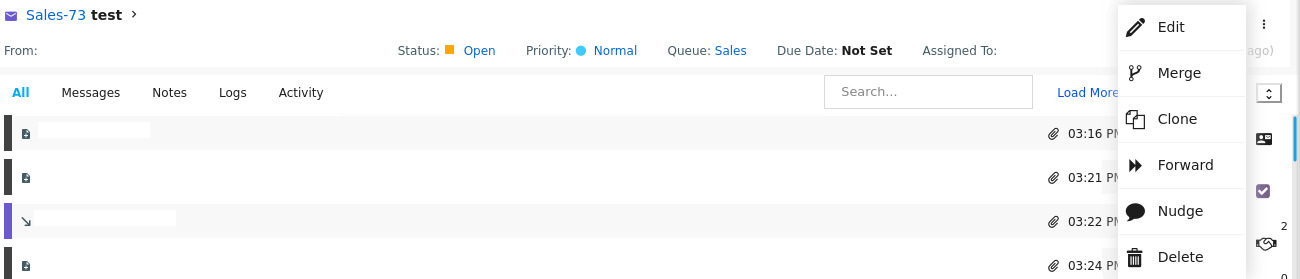
Click on the ellipsis icon on the top right corner of the ticket details page as shown in the image below and click on the Forward option.
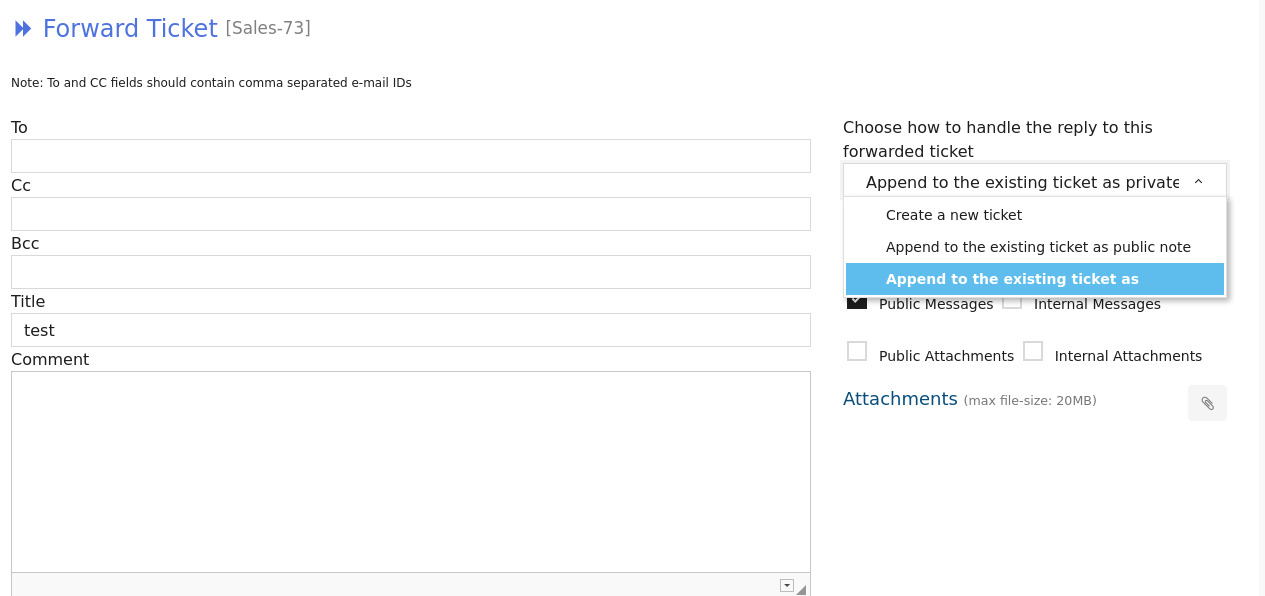
Forward ticket form will be displayed as shown in the image below,
The page specifies that the user can forward the ticket to the below domain email address only, which means the user cannot send the mail to the domain which is not specified here. TxHelpdesk helps the user to choose how to handle the reply to this forwarded ticket by providing 3 options:
1. Create a ticket: Convert into a new ticket
2. Append to the existing ticket as a public note: Convert the reply as a public note on the same ticket
3. Append to the existing ticket as a private note: Convert the reply as an internal note on the same ticket.
Users can choose the options. Add / Remove attachments before forwarding a ticket.
Also, Users can have desired inclusions by checking the highlighted box - Public Messages, Public Attachments, Internal Messages, Internal Attachments
Public Messages- Please check the box If the user wants to include public messages in the forwarded ticket.
Public Attachments:: Please check the box If the user wants to include public attachments in the forwarded ticket.
Internal Messages: Please check the box If the user wants to include internal messages in the forwarded ticket.
Internal Attachments: Please check the box If the user wants to include internal attachments in the forwarded ticket.
User can include or exclude private notes, type in the message that you would like to accompany the ticket and, finally, click on the Send button to forward