How to configure the FAC to display additional chirp states
Navigate to Channels > Calls > Dialplan > Feature Access Code.
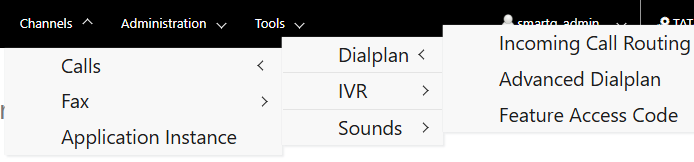
It will redirect you to the Feature Access Code page.
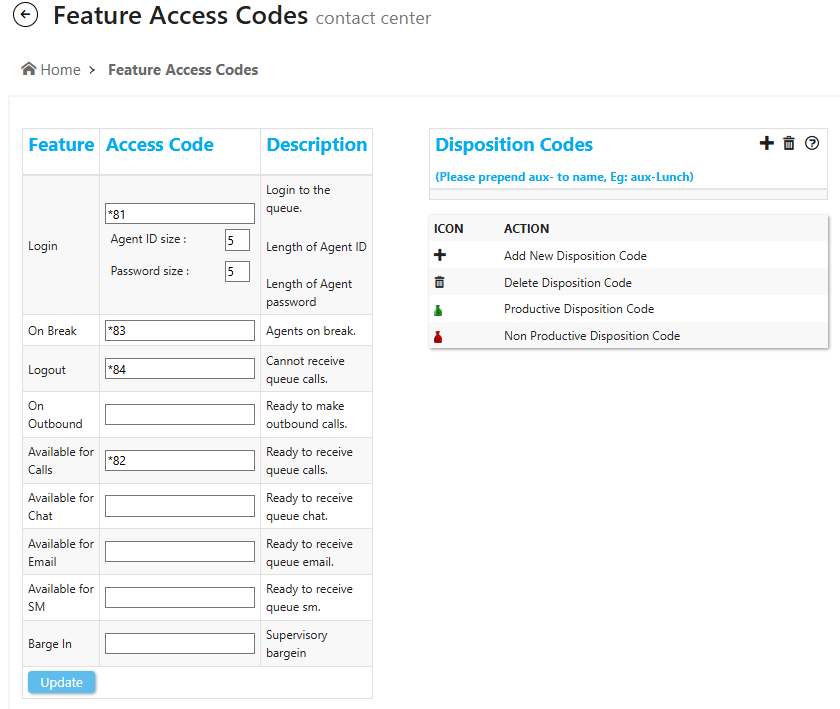
- On the right-hand side, under the disposition code, we can configure productive and non-productive breaks.
- Once the user adds the auxiliary code and disposition name, they should click on 'Update.'
- After clicking 'Update,' a green or red icon will appear on the right-hand side.
- The user can then select the icon to designate it as either a productive or non-productive break, as shown in the screenshot.
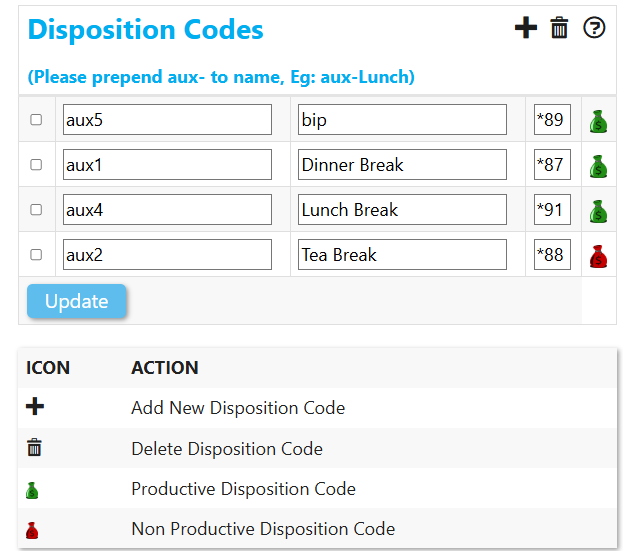
Click on the "update" to add
Once the FAC code is updated, the added feature code must also be updated in the provisioning settings profile
Navigate to Administration > Provisioning > Provisioning Settings, then select the provisioning profile.
Select the added status from the dropdown menu in the "Status" field.
and click on the "update" to save.
Note: Once the changes are made in the provisioning settings, the agent needs to restart their chirp to see the changes.
Please ensure that the same code is not used for multiple dispositions.
Did you find it helpful?